


Prep
Clean the natural nail, choose your size, and line up the set before application so the install feels quick and polished.
Nail Orvessa
Easy at-home application · Sizing guidance · Secure checkout
Couldn't load pickup availability
Measure each natural nail at its widest point before ordering. If you are between sizes, choose the slightly larger tip and gently file the side edge.
A comfortable, natural-looking fit starts with accurate measurements. Measure every nail before ordering, because the same finger can differ slightly between your left and right hand.

| Set Size | Thumb | Index | Middle | Ring | Little |
|---|---|---|---|---|---|
| XS | 14 mm | 10 mm | 11 mm | 10 mm | 8 mm |
| S | 15 mm | 11 mm | 12 mm | 11 mm | 9 mm |
| M | 16 mm | 12 mm | 13 mm | 12 mm | 10 mm |
| L | 17 mm | 13 mm | 14 mm | 13 mm | 11 mm |
Measurements are approximate. Handmade sets and natural nail curves can vary slightly.
Select the set that covers all five nails without pressing into the skin or leaving the sidewalls exposed. If your measurements fall between two sizes, choose the larger set and gently file the side edges for a custom fit. Do not force a nail that feels tight or pinches the sidewalls.
Start with clean, dry nails. Follow the directions for your adhesive and remove the set gently without forcing it.
Good preparation makes the biggest difference to fit and wear. Choose the correct size for every nail before opening or applying any adhesive.

Adhesive tabs are best for short-term wear and easy reuse. Avoid water, oil, lotion, and steam for at least two hours after application.
Wear time varies with preparation, adhesive, nail shape, and daily activity. Never use more adhesive than the product directions recommend.

Use the removal method recommended by your glue manufacturer. Apply remover only as directed, allow enough time for the adhesive to loosen, and lift gently from the side. Never pull, pry, or force a press-on from the natural nail.
Delivery options and estimates are shown at checkout. Review the shipping and refund pages before ordering.
Last updated: June 27, 2026
Nail Orvessa ships eligible press-on nails, nail tips, and nail products to destinations shown at checkout.
Orders are prepared after payment is confirmed. Estimated processing and delivery information shown at checkout is the most current information for your destination.
When tracking is available, it will be sent to the email address used at checkout. Tracking scans can take time to update after a label is created.
Please review your name, apartment or unit number, street address, city, state, postal code, and country before payment. Contact us promptly if you notice an error; changes cannot be guaranteed after fulfillment begins.
Carrier delays, customs processing, weather, and high-volume periods can affect delivery estimates. If tracking shows delivered but the parcel is missing, check the delivery area and contact the carrier before contacting us.
Shipping rates, available services, duties, and taxes are calculated or displayed at checkout where applicable.
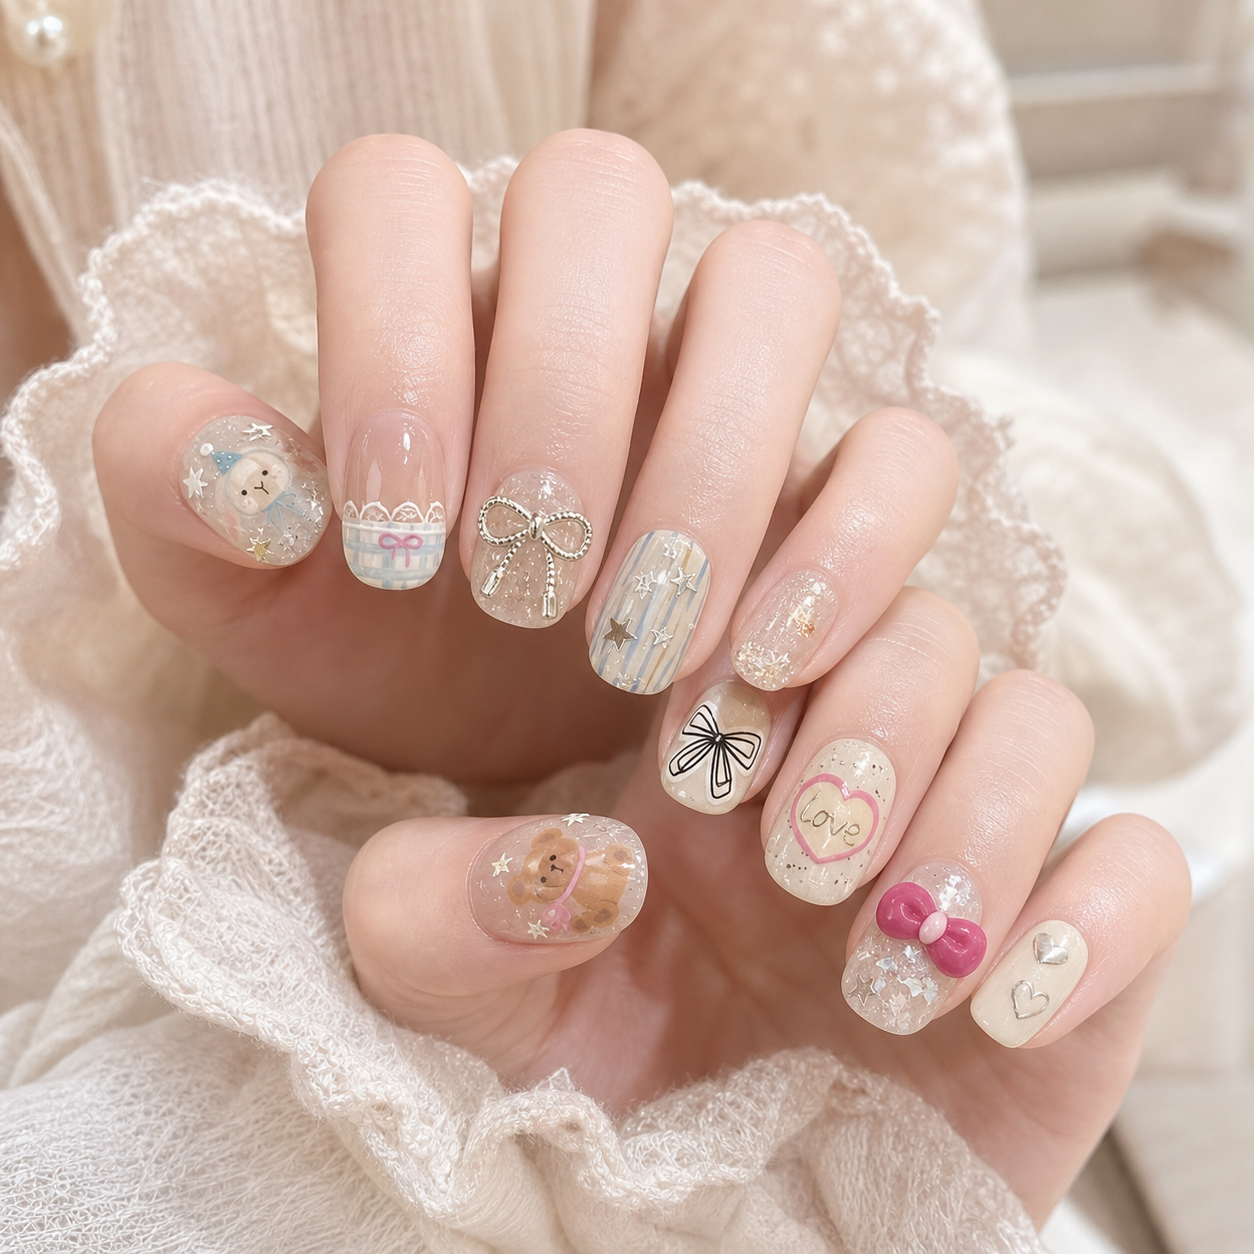
夏日甜心是一款带有手绘感与亮闪细节的手工穿戴甲,整体氛围甜美俏皮,适合学生感穿搭、出游拍照和日常可爱风造型。
建议佩戴前先清洁甲面并试戴选码,再使用果冻胶或胶水固定。请避免用力磕碰和长时间浸泡热水,卸除时温和操作更有利于重复使用。

How to wear
Keep the buying flow clear and easy to scan.
Clean the natural nail, choose your size, and line up the set before application so the install feels quick and polished.
Apply adhesive, angle the press-on into place, and hold firmly from cuticle to tip for a smoother, longer-wearing finish.
Remove gently, store the set, and bring it back for the next dinner, event, or polished everyday look.
Why it feels premium
More imagery. Less friction.

Finish
Show shine, texture, and shape without overexplaining.

Fit
Remind shoppers how to measure and choose.

Routine
Kit, prep, and rewear should feel simple.
Lifestyle cues
Faces, hands, and warm resort light help the product feel more aspirational.

Vacation edit

Close-up finish

Product mood